If you’re looking for a way to customize the fonts on your WordPress blog, you’ve come to the right place. The most common method involves adding CSS code to your theme’s stylesheet. But you can also use the customiser, which is easier to use than the classic method. Here’s how. Read on to learn more! Listed below are some of the most common font changes in WordPress.
CSS declarations tell the theme which font to use in different sections. You can also remove CSS declarations for specific sections. Headings and body text are typically displayed in different fonts. However, best practices change often, and CSS declarations may not always be interpreted by theme developers. If you’re unsure of the best method, you can ask the developer of your theme to help you make the necessary changes.
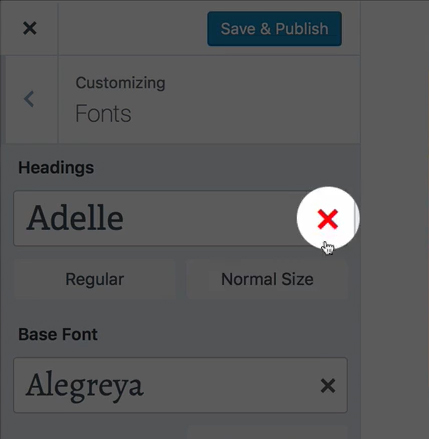
Once you’ve installed the Global Styler, you can change the font for every block containing text. It’s a good idea to use this method for posts and pages, as it applies to every text block. But if you’d prefer using the Classic Editor, you’ll need to install a plugin or manually change the font for all posts and pages. To find out which fonts are available in your theme, go to Customize > Additional CSS. If you see any fonts you want, click on it.
For free themes, you’ll probably be limited to a few fonts. To add more fonts, use an FTP client such as FileZilla or Cyberduck. Once inside, click on the Fonts tab and copy the CSS code to your theme. If you’re using a third-party theme, you should make a child theme for it. There’s a child theme for each theme, so you’ll need to create one of these.