There are three basic ways to install WordPress on your server. The first method requires you to log into the client area of your web host and select Websites. Click the New Website button to select a domain name and continue. After selecting your domain name, the Website Setup Wizard will prompt you to fill out information related to the database. Once this information is entered, WordPress will verify the information and continue. You can then run the installation process. Once it is complete, you should be able to access your newly created website.
WordPress install requires shell access. The next step requires you to move the WordPress directory to the root directory of your domain. Make sure you rename the directory to something more descriptive. Finally, you can access your site by opening the web browser and viewing the contents of the WordPress administrative dashboard. Once you’re done, you can start posting content. After the initial setup, you can use the admin backend to make changes to your site. You’ll find a number of useful plugins to make your website look better.
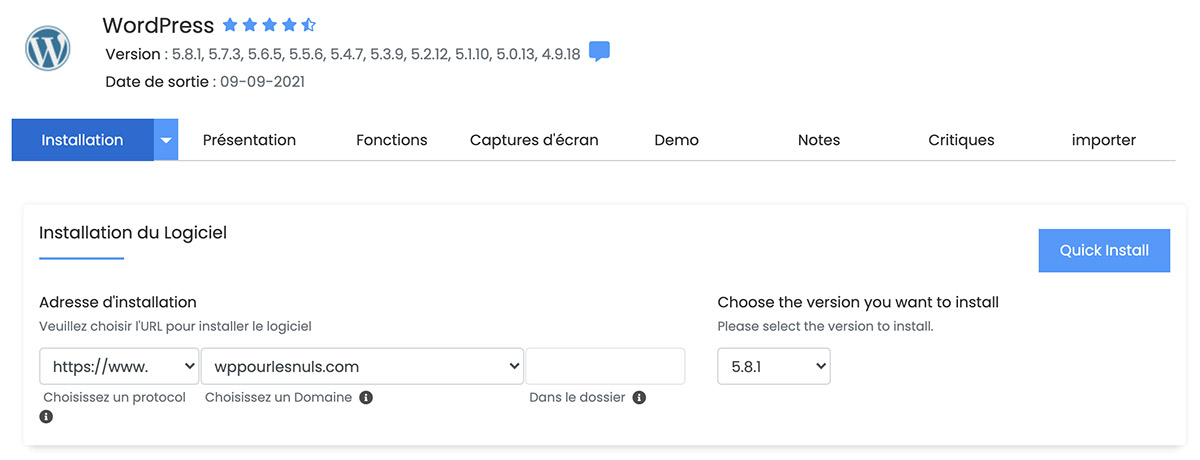
Fortunately, WordPress installation is remarkably simple. Many web hosting providers use an auto-installer script called Softaculous. This script allows users to install popular web applications quickly and easily. Usually, you’ll find the Softaculous icon under the Auto Installers section. From there, click on the Install tab to launch the WordPress installer. After the installation has finished, you’ll need to choose a name for your site and login to your hosting account. The WordPress installation process should only take a few minutes.