If you’d like to set up a wp-cron job for your site, you’ll need to install WordPress into your document root directory. Once you have installed WordPress, you can create a cron job for it to run every thirty minutes. WordPress can run cron jobs as often as you like, but shared and reseller accounts can only run cron jobs once every 15 minutes. The 30 minute interval should be sufficient for most purposes.
WP-Cron is not ideal for sites with low traffic because the scheduler requires a visitor to run the tasks. If you’re running a low-traffic website, the cron will only run if a page has been loaded in a long time. Since a page is only loaded when a visitor arrives, a cron job can fail because it will not retry if it’s expired.
If you’re using cPanel, go to Advanced. Click the Cron jobs icon. Next, you must define the cron time and the script to run. In the example, we’ll run two scripts: WordPress and Events Manager. These scripts should be scheduled to run every minute. Most admin panels come with a pre-set option for “Every minute”, so be sure to choose this. Asterisks will indicate “Every minute” in the cron job definition.
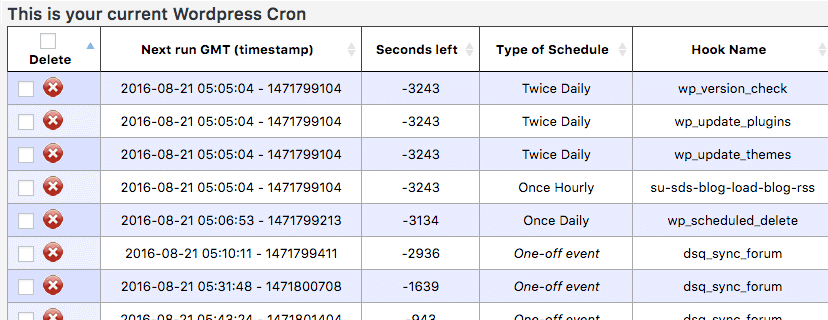
The cron jobs in WordPress can be useful for a variety of purposes. The Hook column shows the name of the hook that plugins and core WordPress use. “wc” or “woocommerce” means ‘WooCommerce’, for instance. The Arguments column contains arguments passed to the hook functions. You should also check whether the plugin you’re using is compatible with your WordPress version. Once you’ve installed wp-Cron, you can view the scheduled ‘Cron Jobs’ in WP Crontrol.