WordPress, a widely-used content management system, offers a plethora of features that enhance the user experience for website developers and content creators. One such feature is the Revision History, a handy tool that keeps track of changes made to your posts and pages, allowing you to view past versions and revert to them if needed. Enabling and using Revision History is straightforward and can be a lifesaver in many situations. In this article, we’ll guide you through the steps to enable WordPress Revision History and how to make the most of it.
What is WordPress Revision History?
Before diving into the “how,” let’s understand what WordPress Revision History is. It’s a feature that automatically saves a record of each change made to a post or page. This includes additions, deletions, and modifications to the text. Every time you hit “Save Draft,” “Update,” or “Publish,” a new revision is stored. This feature is essential for tracking changes, collaborating with others, and safeguarding your content against accidental deletions or unwanted changes.
Enabling WordPress Revision History
Generally, WordPress Revision History is enabled by default. However, if you can’t see it, it might be disabled, either intentionally or unintentionally, usually through the wp-config.php file. Here’s how to check and enable it:
- Access Your
wp-config.phpFile: This file is located in your WordPress site’s root directory. You can access it through an FTP client or your hosting provider’s file manager. - Check for the Revision Control Line: Look for a line that says
define('WP_POST_REVISIONS', false);. This line disables revisions. If this line exists, changefalsetotrueor a specific number (the number of revisions you want to keep for each post/page). - Save and Upload the File: After making changes, save the
wp-config.phpfile and upload it back to your server if you used FTP.
Using WordPress Revision History
Once Revision History is enabled, using it is simple:
- Open a Post or Page: In your WordPress dashboard, go to the post or page you want to check.
- Find the Revisions Section: Scroll down or look in the right sidebar for the ‘Revisions’ section. Click on ‘Browse’ next to the number of revisions.
- Navigating Revisions: You’ll be taken to a screen where you can navigate through different revisions. Use the slider or the ‘Next’ and ‘Previous’ buttons to move between versions.
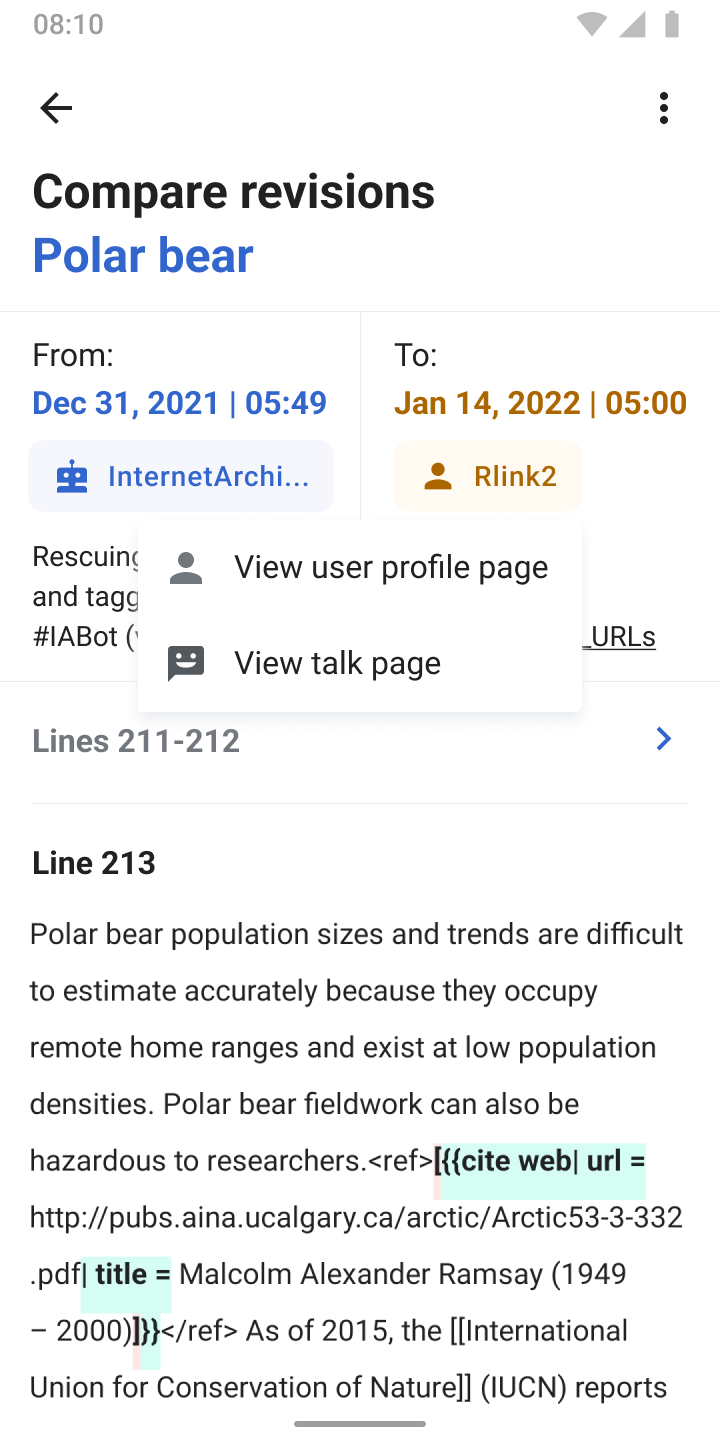
- Comparing Changes: WordPress will highlight the changes between two consecutive revisions. Deleted text is shown in red, while added text is shown in green.
- Restoring a Revision: If you want to revert to a particular version, click ‘Restore This Revision’ or ‘Restore This Autosave’.
Tips for Managing Revisions
- Limit the Number of Revisions: Storing too many revisions can bloat your database. Limit the number by changing
trueto a specific number in thewp-config.phpfile. - Use Revision Management Plugins: For more control over revisions, consider using plugins like ‘WP Revisions Control’ or ‘Better Delete Revision’.
- Regularly Clean Your Database: Even with limits, revisions can accumulate. Use database optimization tools to clean up old revisions.
Conclusion
WordPress Revision History is a powerful feature for content management, offering peace of mind and flexibility in content creation and editing. By following the steps above, you can enable and efficiently utilize this feature, ensuring that your content is always protected and manageable.